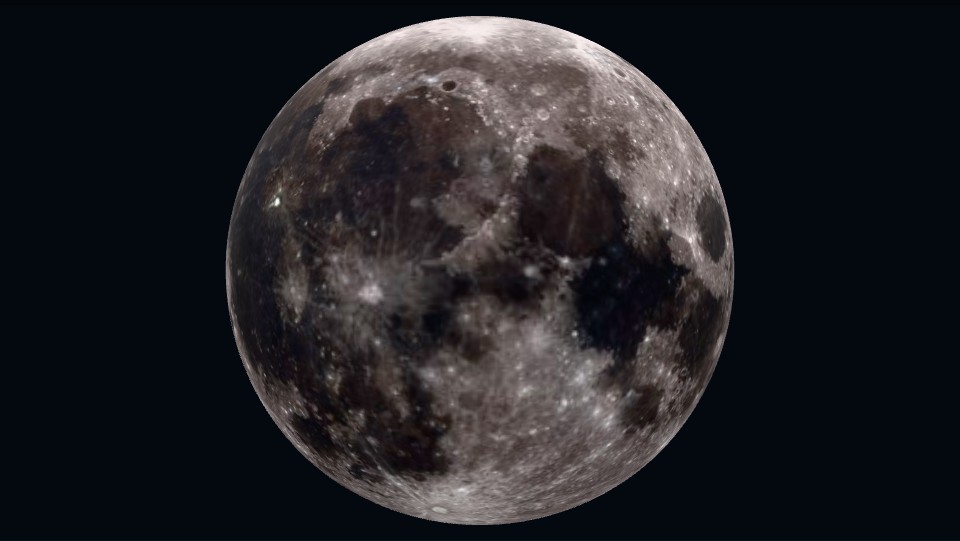
The dark patches in a well-lit picture of the Moon are surface markings. The broad shadow you see during a crescent or quarter phase is a lighting effect. Keeping those two kinds of darkness separate makes the Moon easier to read.
Start with the mapped surface
Open the NASA lunar surface study and inspect the starting hemisphere. Find a large dark patch, turn the model around, and compare the distribution on the opposite side. This is NASA’s LRO color-map-only model, displayed under fixed lighting. It does not simulate tonight’s phase, local orientation or the relief of mountains and craters.
Then change the date
Use the Moon phase date finder for one date, then another about a week later. Compare the illuminated fractions. NASA’s phase guide explains the changing view of the sunlit half as the Moon moves around Earth. A quarter phase is not a quarter of the entire Moon receiving sunlight; it describes a stage of the cycle as seen from Earth.
A comparison to try outdoors
- Check a date, city and time on the sky map. Confirm that the Moon is above your local obstructions.
- Observe which part of the visible disk is illuminated. Do not infer a surface feature from a large area in shadow.
- Return on another evening. Note how the lit portion changes, and which surface markings remain recognisable where there is light.
What the screen cannot decide
The surface model’s fixed light is for inspection, not a view through your binoculars. The date finder uses local noon for a chosen historical date and the current instant for “now”. The phase is nearly the same around Earth at one instant, while its orientation and visibility depend on the observer. Neither tool forecasts cloud, haze, glare or the obstruction from your roofline.
Use the observing planner to keep the session short and practical. Make a note of the actual local time so that a later comparison refers to what you observed.